Build parkour maps with friends, for friends #
Community Parkour is a world that allows players to create, publish, share, and play fun parkour maps in secure areas. Players can compare their jump skills in parkour maps they build!
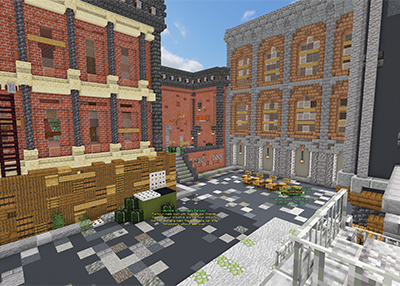
Map Creation #
To play parkour maps, they have to be created first! The Community Parkour world provides a secured map builder to allow everyone to easily create fun parkour maps. This tutorial will teach you how to use this feature in Minecraft.
Entering the map builder #
To start creating a map, use the /cp create command and click Create a new map. If you leave the map creation with /cp leave, you will have to click Load last edited map to continue building your map. You can work only on one map at time (except if you are invited by another player), creating a new map will delete your last edited map if you have not published it.
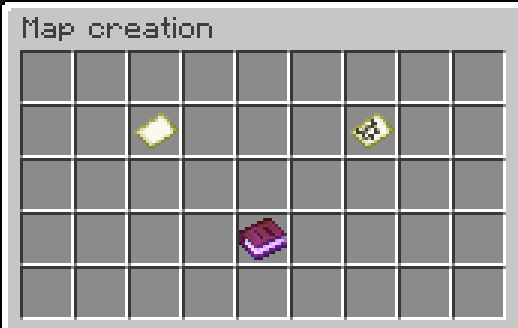
You have a cubic area to build your map. Its size has been predefined.
Building the parkour #
When you create a map, you are in creative mode. You can use all the Minecraft blocks, but there are a few limitations to prevent grief: you can not open blocks’ inventories (chests, dispensers…), you can’t spawn entities like mobs or minecarts and you can’t use dangerous blocks like TNT or mob spawners. Admins can also disable redstone and liquids.
Inviting other players #
You can invite your friends (who are online at the time) to build your parkour with you by using the following command: /cp invite <player> (replace <player> with your friend’s name). They will receive an invitation and they will automatically be teleported to your map if they accept it. If they want to come back to your map after they leave, they will have to use the Other Maps item after typing /cp create. To disallow someone to build your map with you, use /cp remove <player> . You can also use /cp contributors to see the list of players you invited and easily remove them.
Special Signs #
In Community Parkour, map creators have to place special signs to define map spawn, checkpoints, ending and more. These signs can be placed on any block you want, there is no special block in Community Parkour. Special signs disappear when you publish your map (but they still work), so make sure that players step on these blocks during their course or use something to indicate them.
Spawn sign (required) #
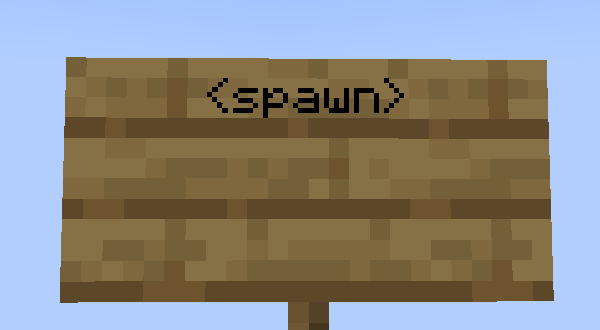
This sign must be placed where you want players to spawn when they come to play your map. To create it, just write <spawn> on its first line. This is how special signs work.
Start sign (required) #
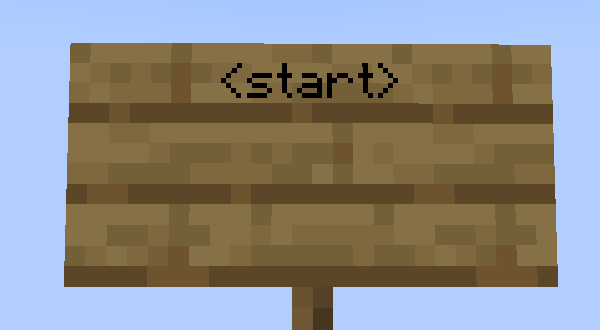
Place the <start> sign where you want players’ timer to start. Make sure that players pass it or their timer will never start. You can place several <start> signs, they will start players’ timer only once (until players reset it).
Checkpoint signs #
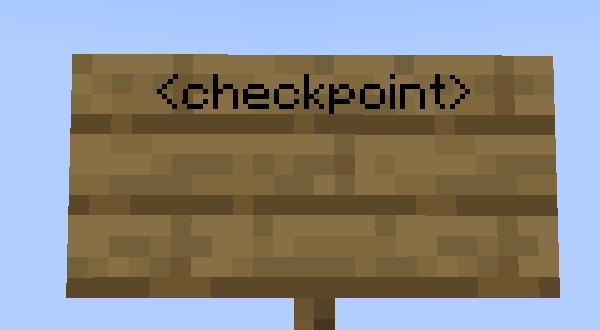
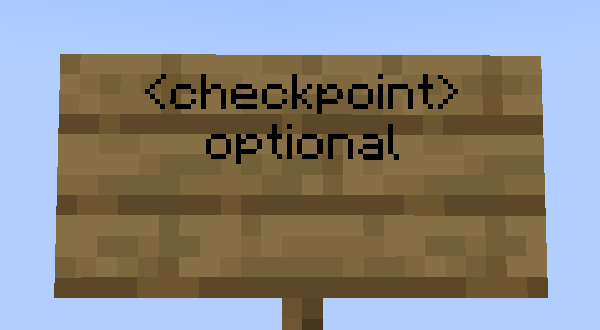
You may have to place checkpoints in your parkour to make it easier and to allow players to return to them when they fall. To do this, place <checkpoint> signs. Please note that players have to pass all the checkpoints before reaching the end of your parkour, if they miss one, they will not be able to finish your map. But you can make optional checkpoints by writing optional (or just o) on the second line of a checkpoint sign.
End sign (required) #
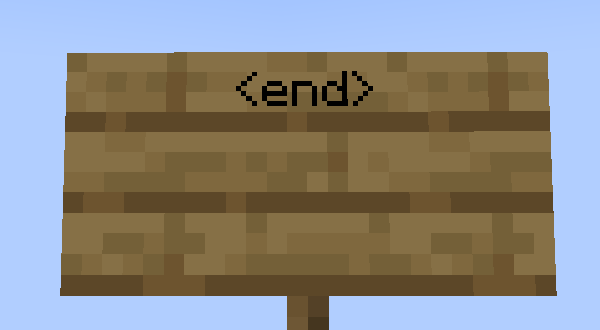
To finish your parkour map, place the <end> sign where you want player’s timer to stop. You can place several <end> signs to make a bigger ending area for example.
Death sign #
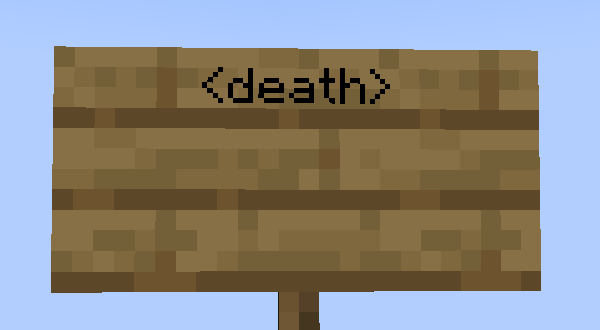
You can place a <death> sign in your map. Its Y position defines the height at which players are teleported back to the last checkpoint (or to the start point). If you use this sign, players no longer have to use their items to respawn when they fall.
Death block signs #
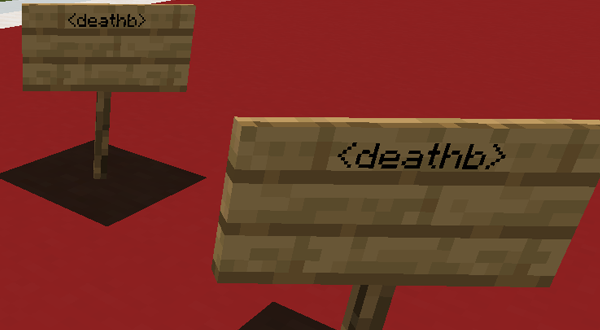
<deathb> signs can be placed where you want players that step on them to be instantly killed and teleported back to last checkpoint they passed (or to start). It is a good idea to indicate death blocks to players by placing different blocks under them. Tip: WorldEdit can be used to fill large areas with death blocks signs, use //set sign|<deathb>. It also works with other signs and WorldEdit commands, more info is in the WorldEdit section.
Effect signs #
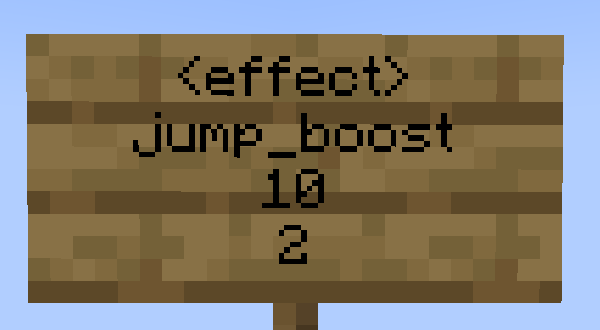
Potion effects can be used to make parkour maps more fun! Available effects are speed, slowness (or slow), jump (or jump_boost), nausea (or confusion), blindness, night_vision and levitation. To make an effect sign, write <effect> on its first line, the name of the effect on the second line, the effect duration in seconds on the third line and the effect amplifier on the last line. The player loses the effect if you set the duration to 0 and you have to set the amplifier to 0 to make a level 1 effect. For example, the sign on example below will give to players who step on the block the jump boost effect level 2 during 10 seconds. A 9999 seconds (or more) duration makes your effect infinite. Players do not lose their effect when they return to checkpoints, but that is the case when they return to start. If you want them to lose their effect when returning to checkpoints, place effect signs with duration 0 after the checkpoints.
Giving ender pearls, Elytra and firework rockets #
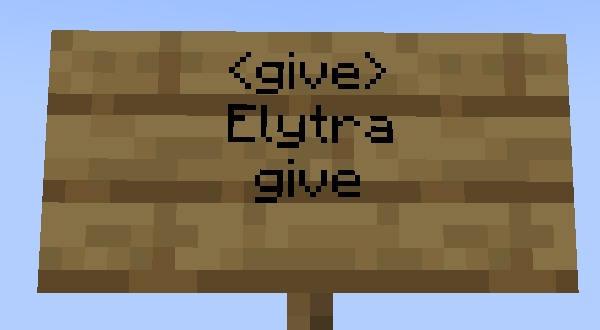
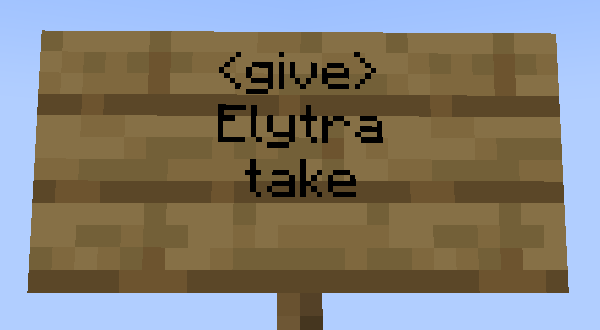
Parkour can be more than jumping, you can use <give> signs to give players ender pearls, Elytra, and/or firework rockets (that can be used as a boost when flying with Elytra). Ender pearl and firework rocket signs give infinite items until players step on a sign that removes them. There are two types of <give> signs for each item: signs to give the item and signs to remove it from player’s inventory. As you can see below, write the item name on the second line of the sign and give (or nothing) or take on the third line to choose if players receive or lose the item when they step on the sign. Players automatically lose these items when they return to start in your map, but not when they return to the last checkpoint. Make sure that they cannot cheat your parkour!
Telporting players #
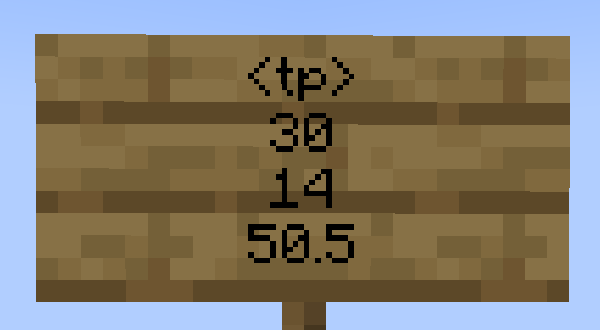
You can place signs to teleport players to specific coordinates in your map. To do it, use <tp> signs and write X, Y and Z coordinates of where you want to teleport players on lines 2, 3 and 4 of the sign. For example, the sign below will teleport players that step on it to X=30, Y=14 and Z=50.5. Ton ensure a player is teleported to the centre of a block, you have to add 0.5 to X and Z coordinates.
WorldEdit #
To help you building your parkour map faster, WorldEdit can be used in the Community Parkour world. You can use the given wooden axe. Select two positions (the first with left-click, the second with right-click), and then use WorldEdit commands to place blocks. For example, use //set <block> to fill the cubic area defined by the two blocks you clicked on with the block you want. Available WorldEdit commands (subject to change) are //wand, //toggleeditwand, //pos1, //pos2, //set, //undo, //redo, //clear, //replace, //copy, //cut, //paste, //hollow, //center, //naturalize, //walls, //faces, //smooth, //count, //cyl, //hcyl, //sphere, //hsphere, //pyramid, //hpyramid, //flip, //rotate, //stack.
Click Here to see more information about these commands.
You can find all the block IDs on websites like this one.
If you do something wrong, you can use the //undo command to revert the last thing you done with WorldEdit, and there is //redo to redo the last undone action.
Special options #
You can enable special options to make your parkour original with /cp mapoptions. Available options:
• No sneak: disables sneak in the map
• Deadly lava: kills players when they touch lava (this can be useful to make deadly areas without using signs)
• Deadly water: kills players when they touch water
• No interactions: prohibits players to interact with doors, trapdoors and fence gates.
Testing your map #
Before publishing your parkour map, you have to test it to be sure that it is possible to reach the end point. To test your map, type /cp test. You can do it as many times as you want. When you reach the end of your map, your map status changes from unvalidated to validated, it signifies that you are able to publish your map. Your map will remain validated until you place or break a block. You can leave the test mode at any time and continue building your map by typing /cp test leave.

Publishing your map #
You can now publish your map and let other players play it! Type /cp publish <name> (replace <name> with the name you want to give to your map, you can use spaces, but ensure it is under 15 characters).
Editing your map #
If you want to change something in your map, type /cp edit or click Edit This Map in the crafting table item. Your map will be back in creation mode until you publish it again. Warning: if you break or place a block, your map’s leaderboard will be deleted and all players’ times will be lost.
Deleting your map #
You can delete your map by typing /cp delete or by using the Map Options item. This cannot be undone!